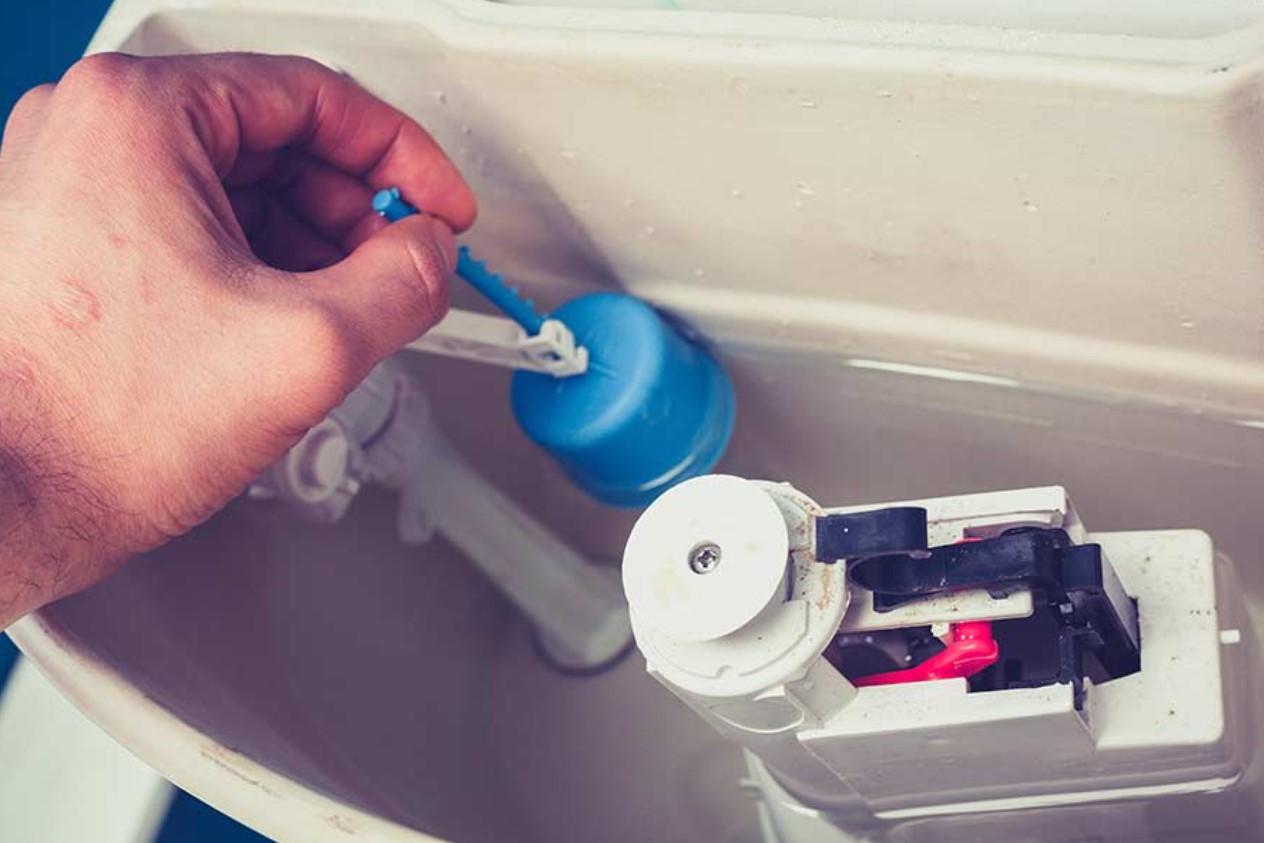
The toilet float is an integral part of your toilet tank, and it plays a crucial role in regulating the level of water. Its primary function is to turn off the water supply when the water in the tank reaches the desired level. To ensure it’s doing its job properly, you need to adjust it accordingly.
How to adjust float in toilet is not a complicated task. All you need for this process are basic tools and materials such as a screwdriver and an adjustable wrench. To get started, you should first locate the float and ensure that it is securely attached to the fill valve. Once that’s done, you can start adjusting the toilet float.
Generally speaking, you can adjust the toilet float by simply turning a screw located on the side of the fill valve. Depending on the type of your toilet, this may require either a flat-head or Phillips screwdriver. You should also have an adjustable wrench at hand to keep things secure while adjusting.
When adjusted correctly, the water level in your tank should be right below the overflow tube. After you’ve adjusted the float, you can flush the toilet and check if everything is working correctly. If not, you may need to make some additional adjustments.
Adjusting a toilet float is a simple DIY task that anyone can carry out in just a few minutes.
Why You Should Know How To Adjust Toilet Float
Adjusting the toilet float is a necessary task for any homeowner who wants to maintain their plumbing system. The toilet float, also known as a fill valve, is a device located in the tank of your toilet which helps regulate the water level in the tank.
It works by sensing the water level and when it drops below a certain point, it signals the fill valve to fill the tank with more water.
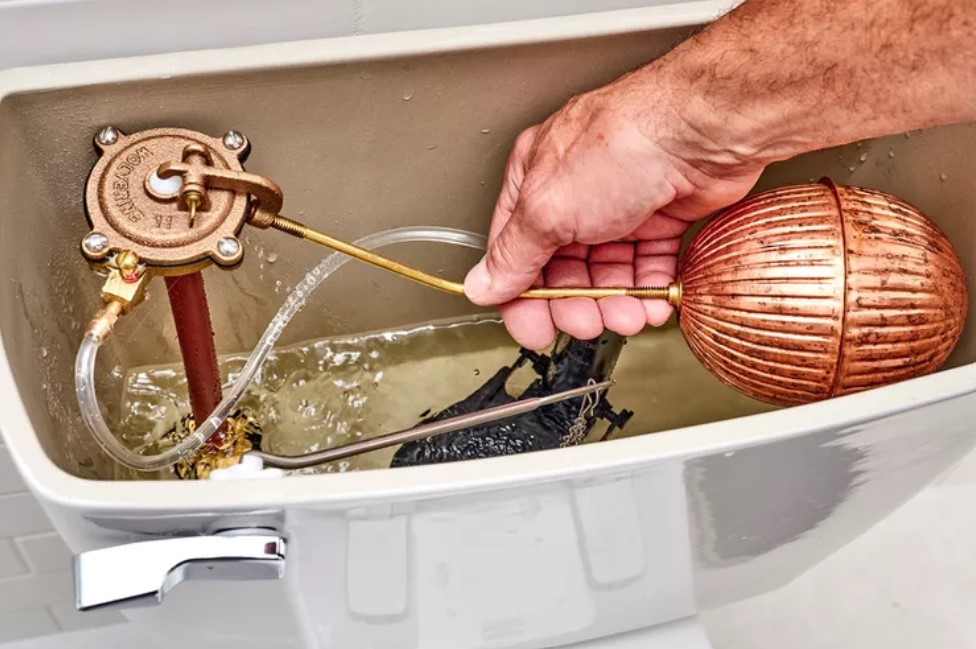
Adjusting a toilet float can help resolve issues like overflowing, running toilets or low water levels in the tank. It is easy to adjust and doesn’t require expensive materials or sophisticated tools. This simple task can save you money on plumbing repair bills in the future. Moreover, it also helps to maintain good hygiene and prevent water wastage.
Running Toilet Float Diagnosis
Diagnosing a Running Toilet Float is an important step in addressing water wastage or a low water level in a toilet tank. It is essential to determine the make of float your toilet uses before attempting to address this issue.
The majority of traditional toilets use a floating device to regulate the fill level, which can usually be adjusted with a screw located close to the valve.
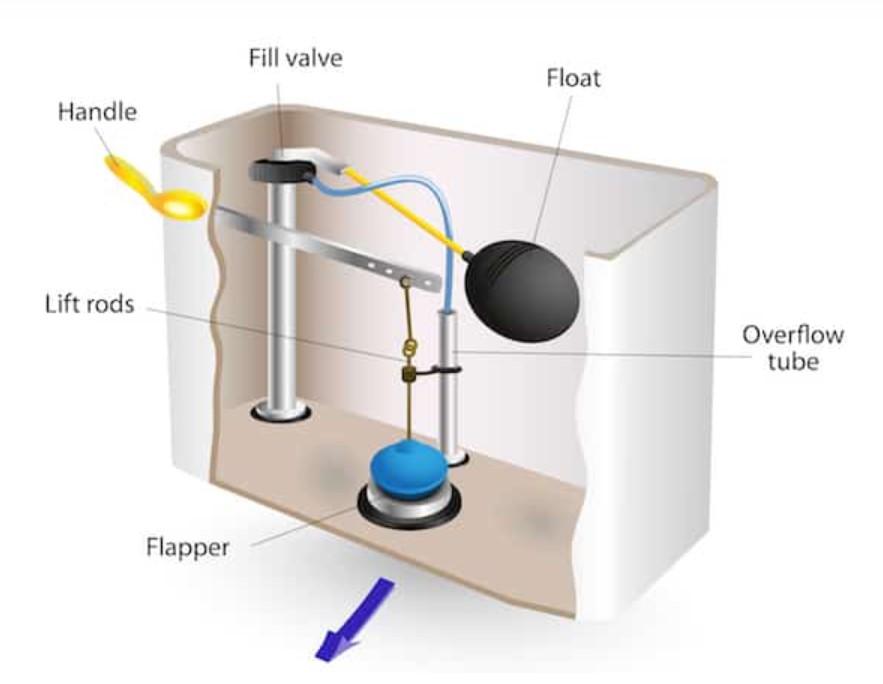
Vertical floats, however, necessitate adjustments from the side of the toilet fill valve and can lead to toilet flooding if there is excessive water above the tube of the flush valve. Running toilets may also result from too little water in the tank – a condition that affects how well it flushes.
Types Of Toilet Float
There are two common types of toilet float. They include:
Ball And Arm Float
The Ball And Arm Float is an essential part of the toilet system and has been used for decades. It consists of a small ball connected to the fill valve of your toilet through a long metal rod.
This device helps regulate the amount of water in your tank, ensuring that you have enough for flushing purposes. By adjusting the Ball And Arm Float, you can adjust the water level in your toilet tank to maintain an optimal level for efficient flushing.
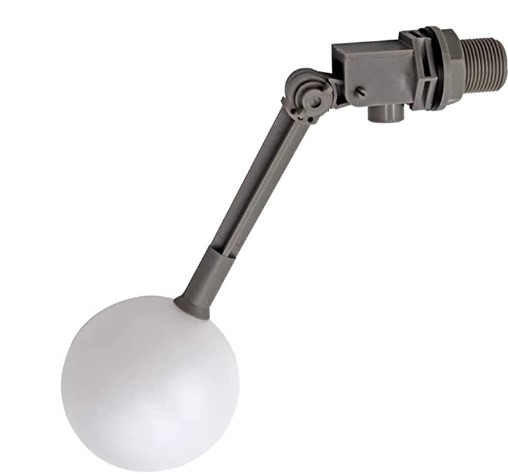
If you notice that the volume of water in your tank has dropped below the normal level, it’s likely due to a malfunctioning Ball And Arm Float. This can be easily fixed by adjusting the toilet Float Ball accordingly.
The Ball And Arm Float is an essential component of the toilet system and it’s important to keep it in good working condition for efficient flushing. If you notice any issues with your Ball And Arm Float, make sure to get it checked and adjusted to ensure your toilet performs as intended.
Fluidmaster Or Cylinder Float
The Fluidmaster or cylinder float is the latest in modern toilet designs. It offers unmatched convenience and ease of use for homeowners, eliminating the need for messy ball float setups. Fluidmaster floats use a cylindrical plastic float cup that controls the water level within the flush valve shaft.
Instead of a traditional float ball and rod, Fluidmaster utilizes a thin metal rod attached to the float with a metal spring clip.
This product offers several advantages over traditional ball-and-arm floats including faster installation, simplified maintenance procedures, and greater user-friendliness. Fluidmaster is quickly becoming the go-to choice for homeowners looking to upgrade their toilet designs.
How To Adjust Ball-And-Arm Toilet Float
Check Your Toilet Tank Water Level
The ideal water level in the toilet tank should be 1 – 2 inches beneath the overflow tube and flush valve. If the water is either lower or higher than this, it can cause an imbalance of pressure in the tank and can lead to undesirable results like a weakened flush or even a leak. To ensure that your water level is in the correct range, it is important to check it regularly.
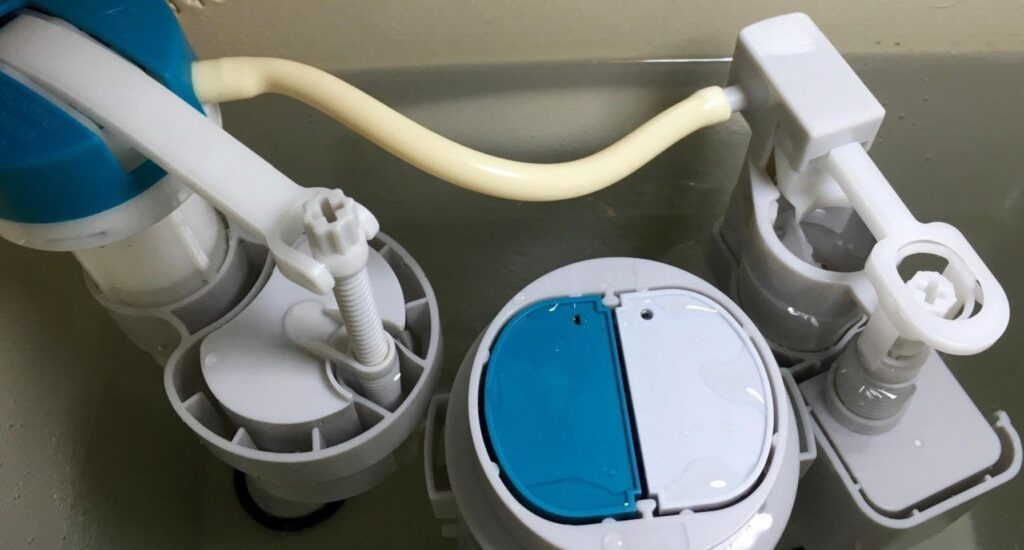
Check your toilet tank for a line printed or etched onto the porcelain that indicates the ideal water level. If you cannot find such a mark, measure 1 – 2 inches from the top of your overflow tube and fill valve shaft and make sure that the water is at or slightly below this point. Check your toilet tank water level often to keep it in the optimal range for a strong and reliable flush.
For any further help or questions on how to check your toilet tank water level, contact an experienced plumber today!
Cut Off The Water Supply
To properly adjust your toilet tank, you must first ensure that it is completely empty. Cut off the water supply by turning off the valve, which is either close to the wall or attached to the flush lever.
Once this is done, you can use one of two methods to flush out any remaining water in the tank: depending on the type of valve, you may need to press down on it or turn the knob clockwise. Once the toilet has been flushed, your tank is now empty and ready for adjustment.
Note that regardless of the type of valve used, it is important not to force it as this could lead to damage and costly repairs in the future.
Check The Float And Fill Valve
The float and fill valve are two important components of a toilet tank. The float is a plastic ball, usually connected to an arm. It is responsible for controlling the water levels in the tank. By adjusting the height of the float, you can determine how much water your tank will retain.
It’s important to make sure that the float is neither too high nor too low. Ideally, it should be level with the water in the tank. You can check this by shaking the float and seeing if there is water inside. If so, that means that the plastic has broken down and needs to be replaced.
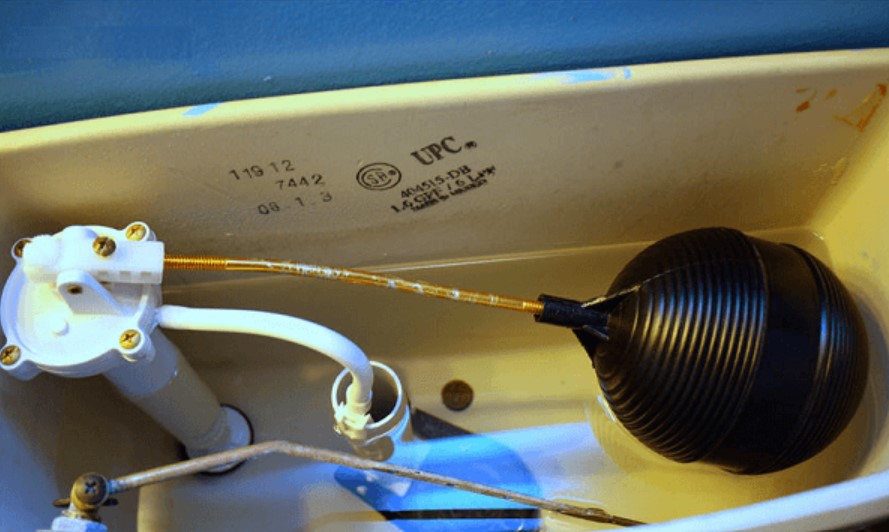
To ensure your toilet tank functions properly, you should regularly check the float and fill valve. Make sure that the float is at the right height and that there is no water inside. This will help you avoid any potential issues in the future.
By checking your toilet’s float and fill valve regularly, you can ensure that your tank remains functional for many years to come.
Connect The Float Properly To The Valve
Adjusting the float of a toilet is an important job in maintaining it. Connecting the float properly to the fill valve is key for its proper operation. To do this, you’ll need a screwdriver, which can be used to turn the screw found above the fill valve either clockwise or counterclockwise. Each direction will either increase the height of the float.
How Do You Know the Float Is Not In the Right Position?
To diagnose a mispositioned toilet float, there are several telltale signs to look out for. First and foremost, the toilet is not operating as efficiently as usual – flushing strength may be decreased or there may be a running toilet; this is usually accompanied by a lower water level in the tank or bowl.
Furthermore, if the water level in the bowl is lower than before, that could be an indication that the float is not in its proper position. Lastly, it’s important to note any unusual noises or vibrations coming from inside the tank while flushing – these can also indicate a mispositioned float.
How do you adjust a toilet float without a screw?
The ballcock, also known as a fill valve, is the main component of a toilet’s water tank and is responsible for controlling the amount of water in the tank.
It works by using an adjustable float that rises with the water level and activates a switch to shut off the inflow when it reaches a certain height. If the ballcock is an older model, it might not have an adjustment screw. In this case, you can adjust the float by manually bending the rod connected to it.
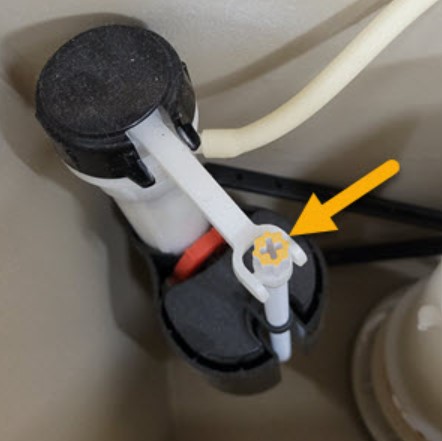
Hold onto the middle of the rod with one hand and carefully bend it up if you want to raise the water level or down if you want to lower it. Make sure to adjust the rod gradually and in small increments to avoid over-bending. With this method, it is possible to adjust a toilet float without a screw.
How high should a toilet float be?
The ideal water level for a toilet float is generally 1 to 2 inches below the fill valve and the overflow tube. This allows for the optimal amount of water in the tank, providing enough to ensure a good flush and not too much that it overflows.
Toilets with ball floats use an adjustable arm attached to a float ball, which is used to control the water level in the tank. You can adjust this arm by using an adjustment screw or dial located on the side of the toilet or inside the tank.
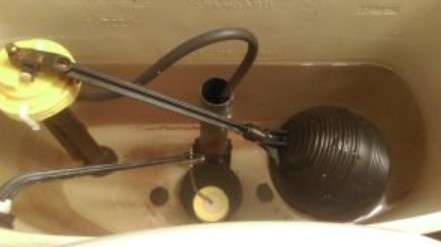
By turning it clockwise, you can raise the arm and increase the water level in your tank. On the other hand, turning it counter-clockwise will lower the arm and decrease the water level. Adjusting the float arm to the optimal height ensures that your toilet operates at its best. Read also…

